-
Collagen
-
Type I - Atelocollagen
- PureCol® Solution, 3 mg/ml (bovine) #5005
- Nutragen® Solution, 6 mg/ml (bovine) #5010
- FibriCol® Solution, 10 mg/ml (bovine) #5133
- PureCol® EZ Gel, Solution, 5 mg/ml (bovine) #5074
- PureCol® Lyophilized, 15 mg (bovine) #5006
- VitroCol® Solution, 3 mg/ml (human) #5007
- VitroCol® Lyophilized, 15 mg (human) #5008
-
Type I - Telocollagen
- TeloCol®-3 Solution, 3 mg/ml (bovine) #5026
- TeloCol®-6 Solution, 6 mg/ml (bovine) #5225
- TeloCol®-10 Solution, 10 mg/ml (bovine) #5226
- RatCol™ for 2D and 3D, Solution, 4 mg/ml (rat) #5153
- RatCol™ High Concentration, Solution, 10 mg/ml (rat)
- RatCol™ lyophilized, 100 mg (rat)
- RatCol™ for Coatings, Solution, 4 mg/ml (rat) #5056
- Type I - Insoluble Collagen
- Type I - Bioinks
- Type II Collagen
- Type III Collagen
- Type IV Collagen
- Collagen Standard
-
PureCol® Collagen Coated Plates
- Collagen Coated T-25 Flasks #5029
- Collagen Coated 6-well Plates #5073
- Collagen Coated 12-well Plates #5439
- Collagen Coated 24-well Plates #5440
- Collagen Coated 48-well Plates #5181
- Collagen Coated 96-well Plates #5072
- Collagen Coated 384-well Plates #5380-5EA
- Collagen Coated 100 x 20 mm Dishes #5028
- MatTek Glass-Bottom Dishes
- MatTek Multi-Well Plates
- Collagen Scaffolds
- Collagen Hybridizing Peptides
-
Type I - Atelocollagen
- Tunable Stiffness
- CytoSoft™ Rigidity Plates
-
Bioprinting
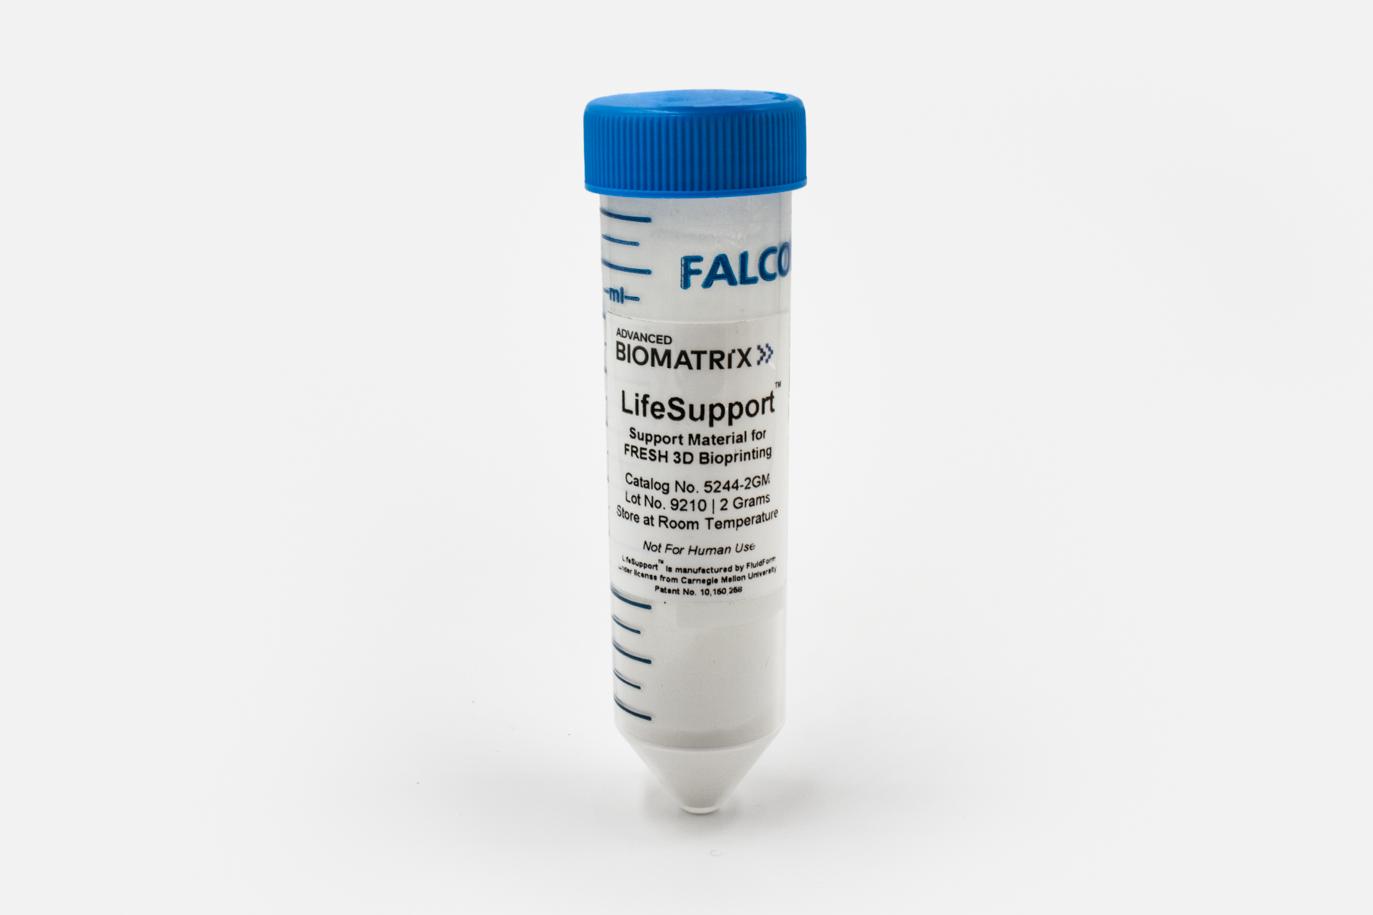
- Support Slurry for FRESH Bioprinting
-
Bioinks for Extrusion Bioprinting
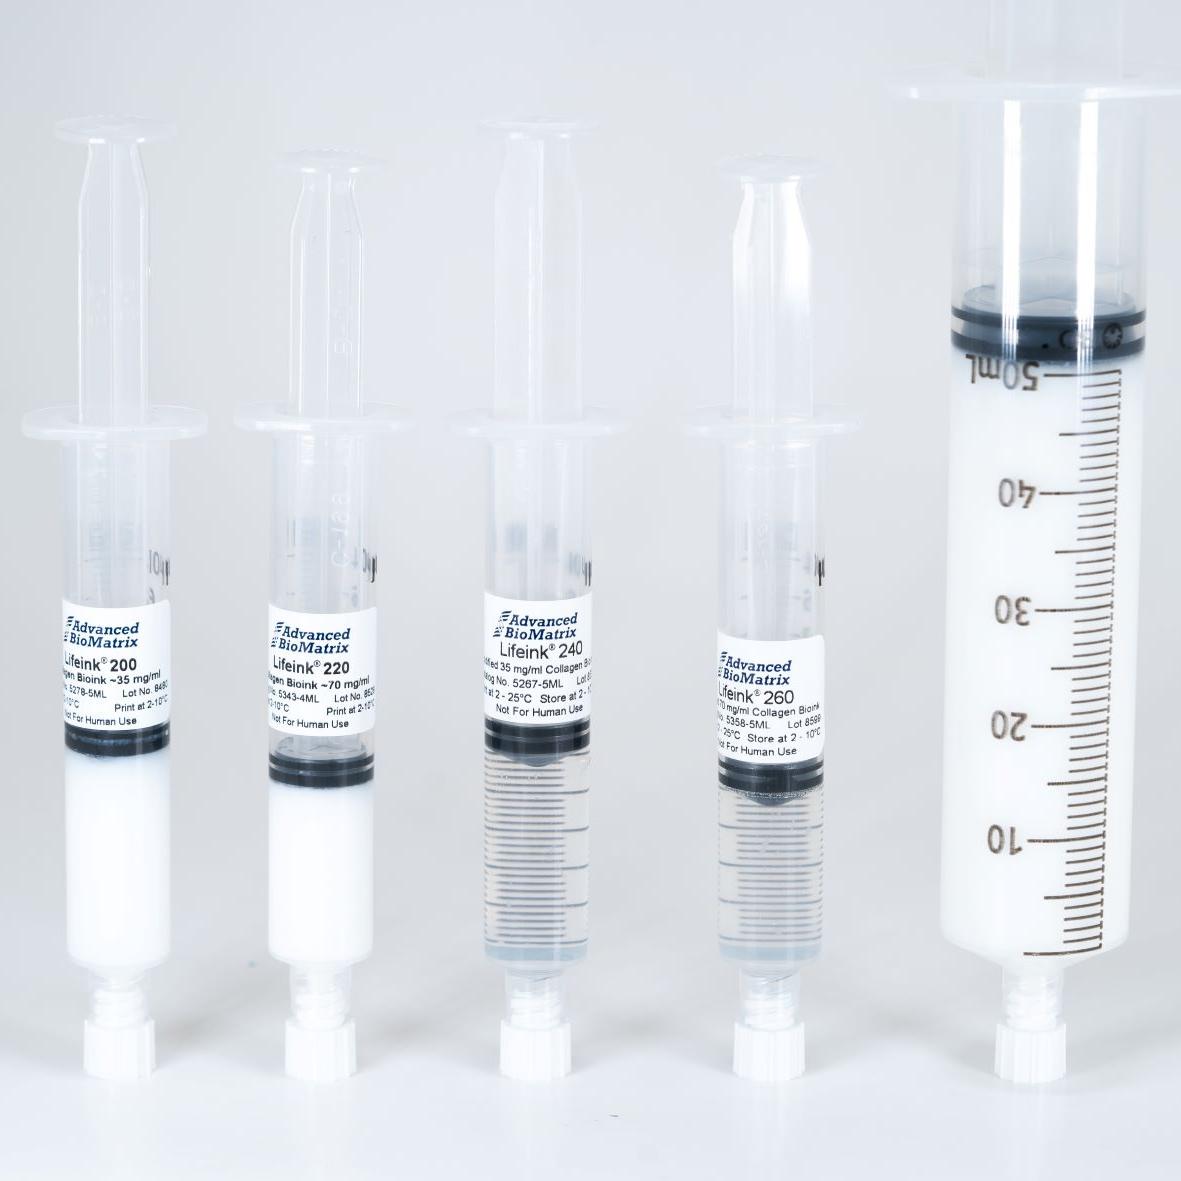
- Lifeink® 200 Collagen Bioink (35 mg/ml) #5278
- Lifeink® 220 Collagen Bioink (70 mg/ml) #5343
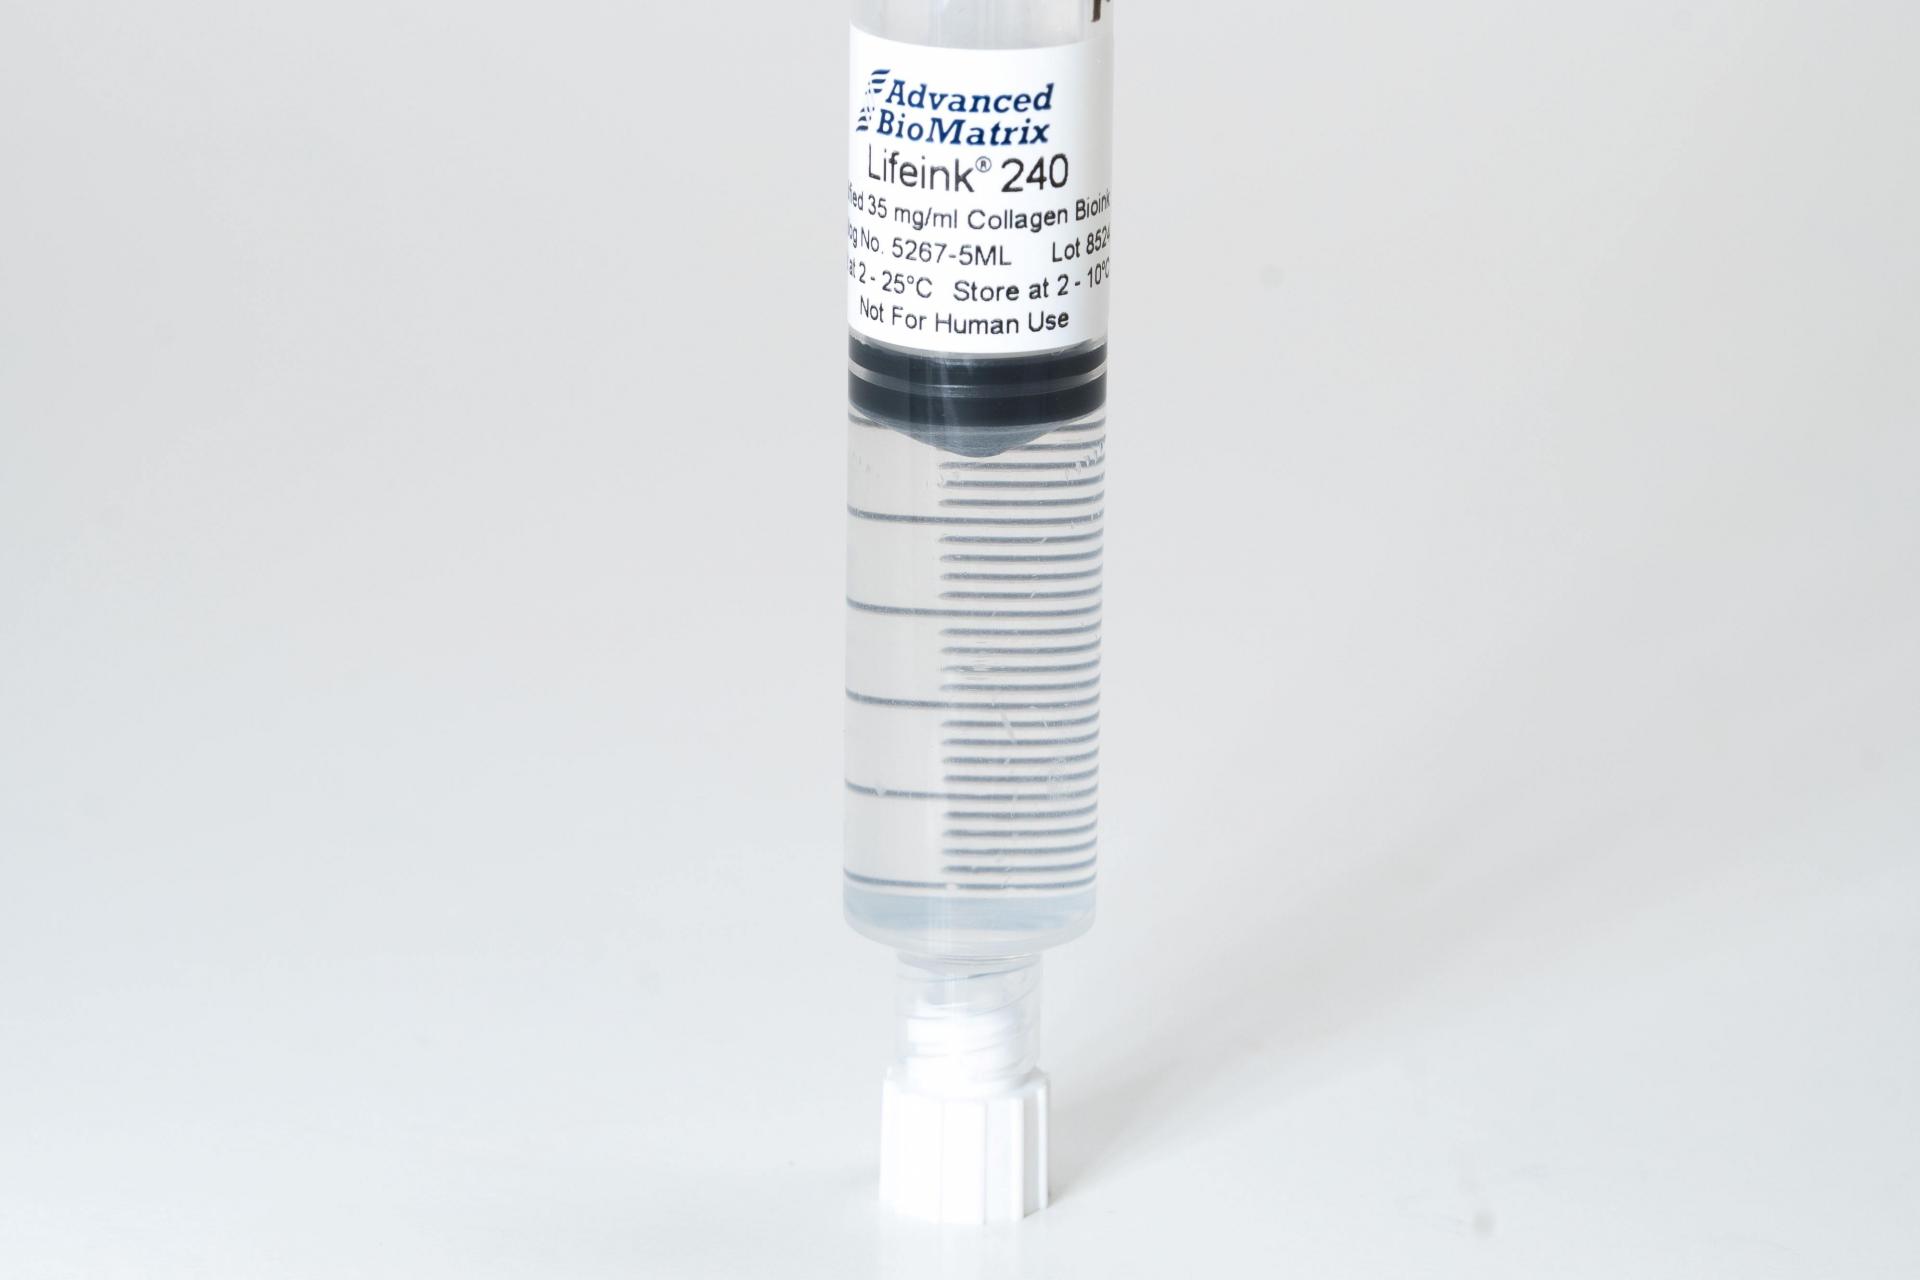
- Lifeink® 240 Acidic Collagen Bioink (35 mg/ml) #5267
- Lifeink® 260 Acidic Collagen Bioink (70 mg/ml) #5358
- GelMA Bioink
- GelMA A Bioink
- GelMA C Bioink
- Pluronic F-127 40% Sterile Solution
- GelMA 20% Sterile Solution
- Alginate 5% Sterile Solution
- Photoinitiators
- Bioinks for BIONOVA X
- Bioinks for Lumen X
- DLP Printing Consumables
-
Create Your Own Bioinks
- PhotoCol® Methacrylated Collagen
- PhotoGel® Methacrylated Gelatin 95% DS
- PhotoGel® Methacrylated Gelatin 50% DS
- PhotoHA®-Stiff Methacrylated Hyaluronic Acid
- PhotoHA®-Soft Methacrylated Hyaluronic Acid
- PhotoAlginate® Methacrylated Alginate
- PhotoDextran® Methacrylated Dextran
- PEGDA (Various Molecular Weights)
- Silk Fibroin, Solution
- PhotoSericin® Methacrylated Sericin
- Bioprinters
-
3D Hydrogels
- Thermoreversible Hydrogel
- Silk Fibroin
-
Type I Collagen for 3D Hydrogels
- PureCol® Solution, 3 mg/ml (bovine) #5005
- Nutragen® Solution, 6 mg/ml (bovine) #5010
- FibriCol® Solution, 10 mg/ml (bovine) #5133
- PureCol® EZ Gel, Solution, 5 mg/ml (bovine) #5074
- VitroCol® Solution, 3 mg/ml (human) #5007
- TeloCol®-3 Solution, 3 mg/ml (bovine) #5026
- TeloCol®-6 Solution, 6 mg/ml (bovine) #5225
- TeloCol®-10 Solution, 10 mg/ml (bovine) #5226
- RatCol® for 3D gels, Solution, 4 mg/ml (rat) #5153
- HyStem® Thiolated Hyaluronic Acid
- Methacrylated Collagen
- Methacrylated Gelatin
- Methacrylated Hyaluronic Acid
- Diacrylates
- Collagen Sponges
- Methacrylated Polysaccharides
- Spheroids and Organoids
- Extracellular Matrices
- HyStem / Hyaluronic Acid
-
Adhesion Peptides / Proteins
-
Recombinant Adhesion Proteins
- CD2, 0.5 mg/ml #5086
- CDH3, 0.5 mg/ml #5124
- CDH13, 0.5 mg/ml #5125
- CD14, 0.5 mg/ml #5089
- CDH18, 0.5 mg/ml #5090
- CD40, 0.5 mg/ml #5093
- CD86, 0.5 mg/ml #5096
- CD164, 0.5 mg/ml #5100
- CD270, 0.5 mg/ml #5127
- CD274, 0.5 mg/ml #5126
- CD276, 0.5 mg/ml #5123
- E-Cadherin (CD324), 0.5 mg/ml #5085
- ICAM2, 0.5 mg/ml #5107
- Adhesion Peptides
- Collagen Hybridizing Peptides
-
Recombinant Adhesion Proteins
- Reagents
- Assays
Lifeink® 200
35 mg/ml Neutralized Type I Collagen Bioink
Catalog #5278
Lifeink® 200
35 mg/ml Neutralized Type I Collagen Bioink
Catalog #5278
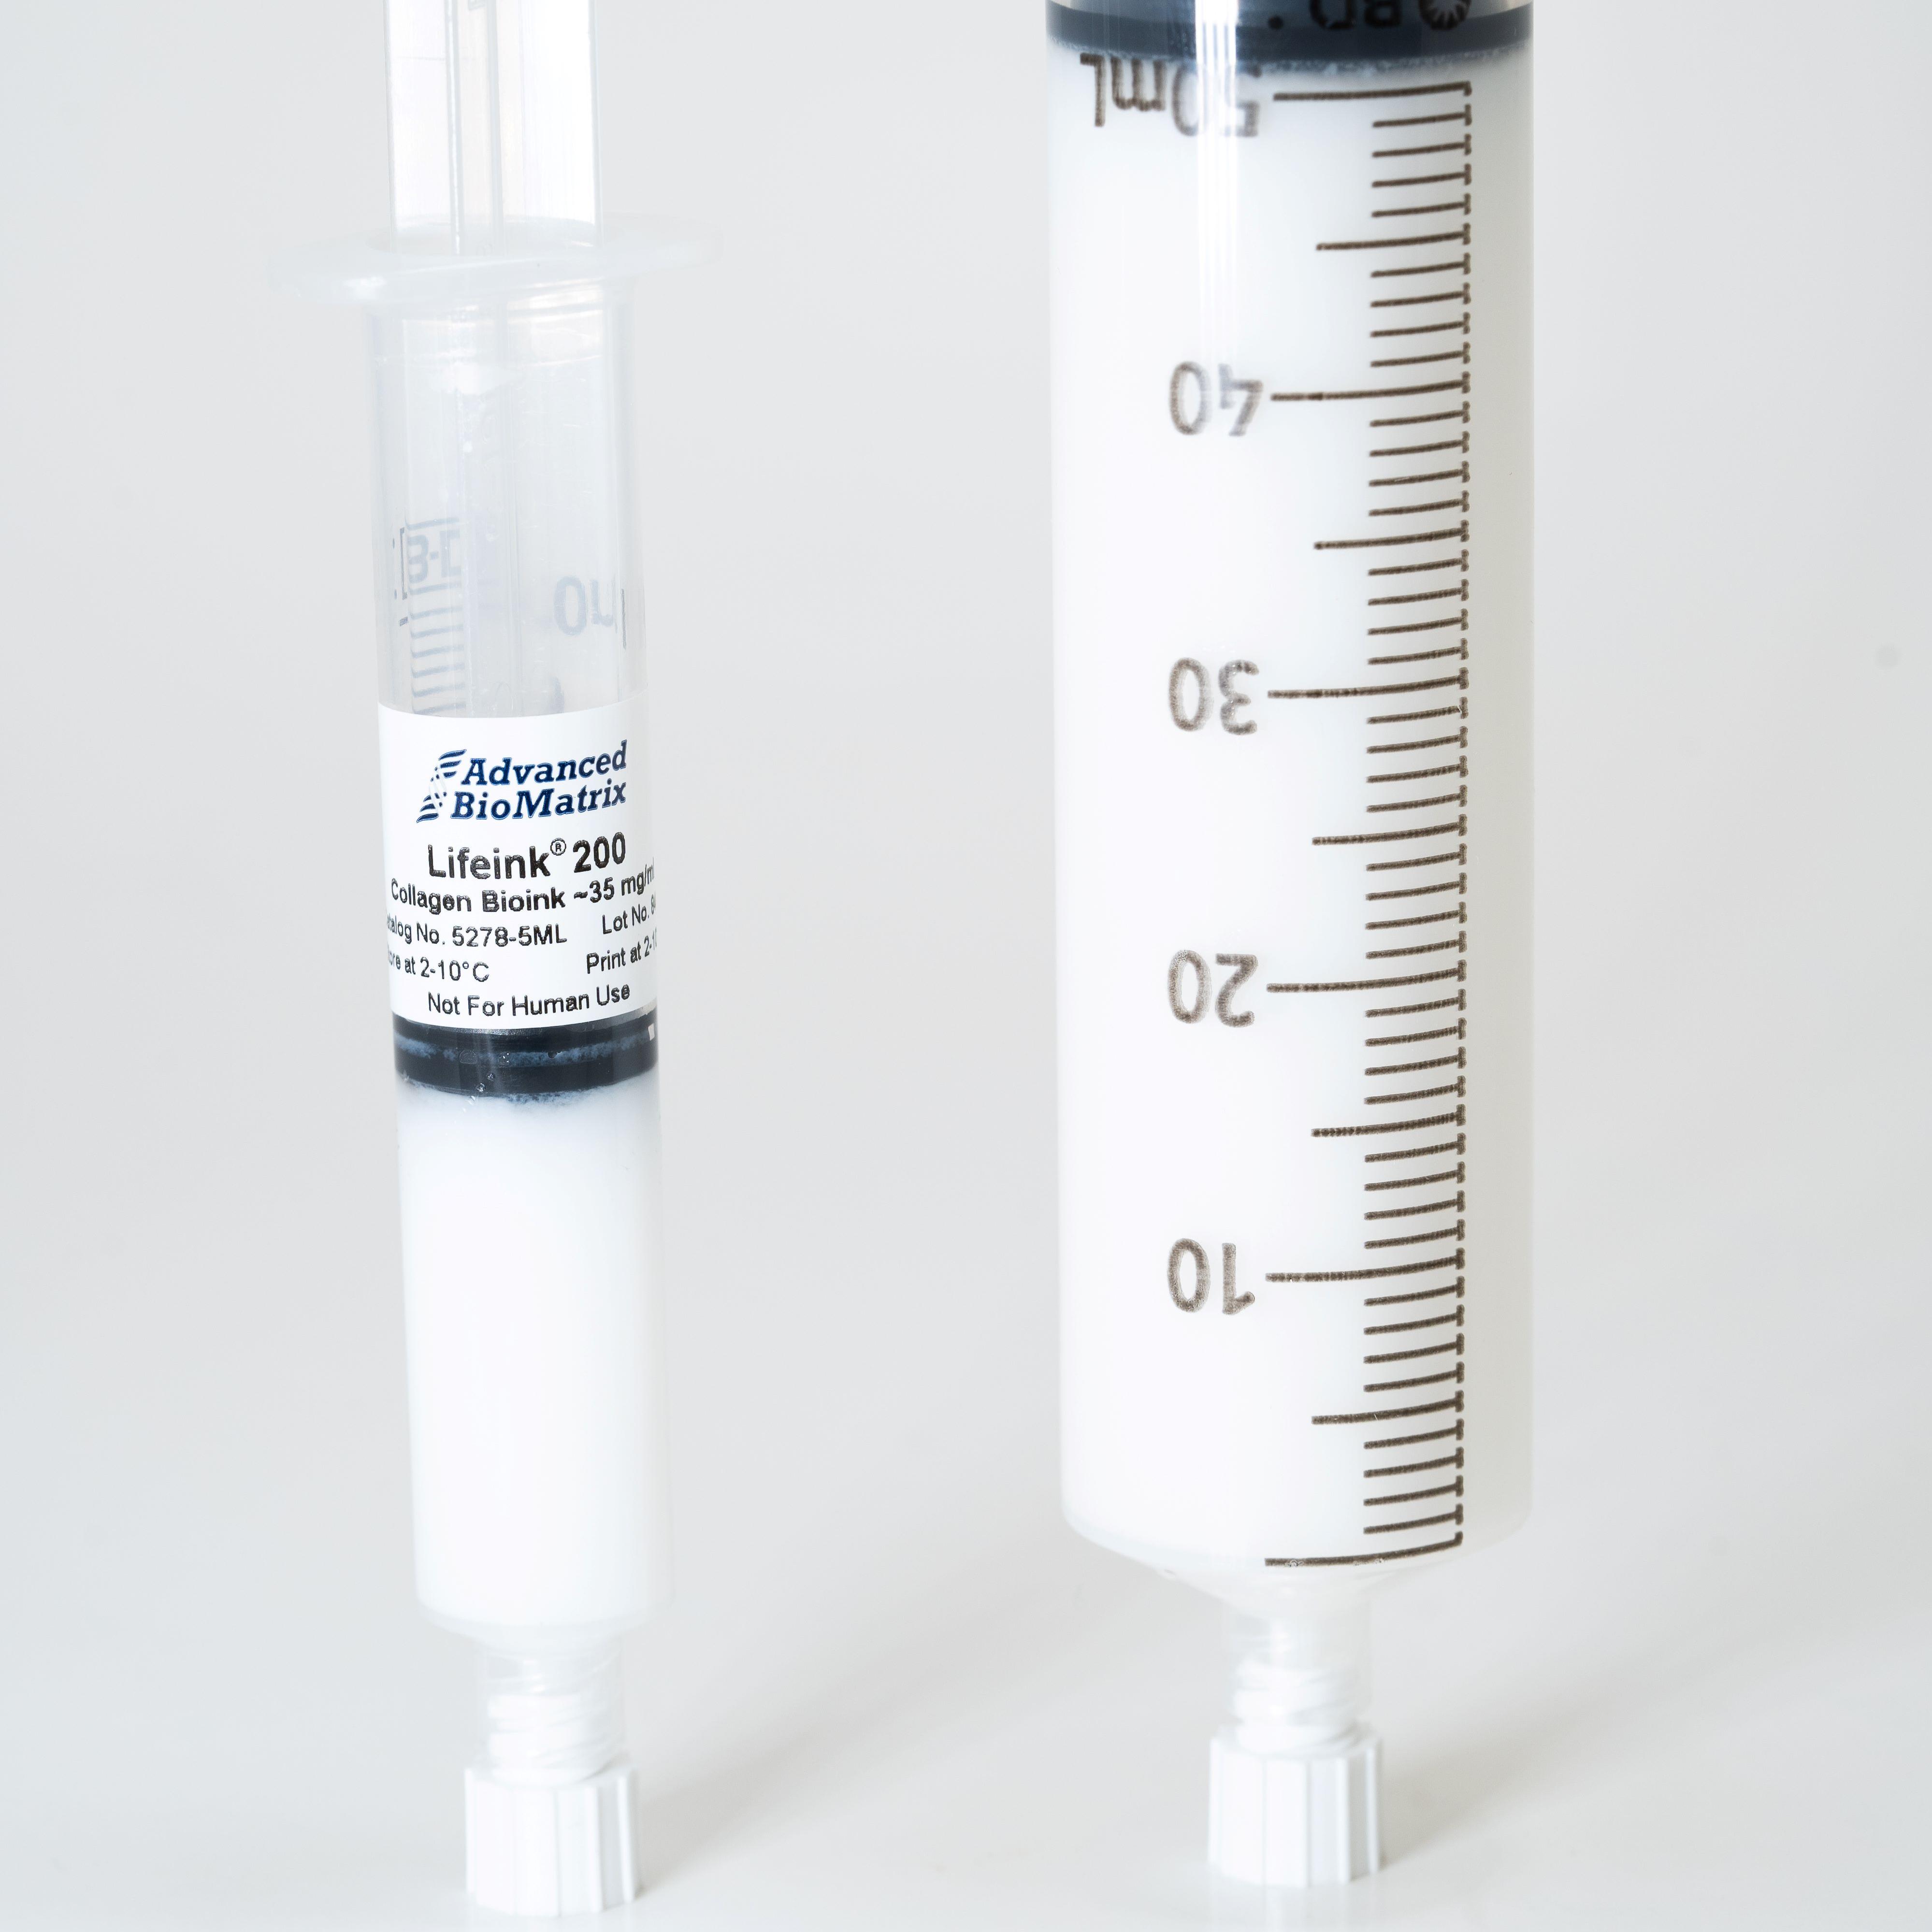
Lifeink® 200 is a 35 mg/ml type I collagen bioink for extrusion based FRESH 3D bioprinting. Lifeink® 200 comes as a pH neutral, isotonic bioink and is ready for cell addition and bioprinting.
Product Description
For printing with Lifeink® 200, we highly recommend using the FRESH printing technique and printing at 2-8°C. Three dimensional (3D) gels allow for the study of the effects of the mechanical properties of the extracellular matrix (ECM), such as density and rigidity, on cell development, migration, and morphology. Unlike 2D systems, 3D environments allow cell extensions to simultaneously interact with integrins on all cell surfaces, resulting in the activation of specific signaling pathways. Gel stiffness or rigidity also affects cell migration differently in 3D versus 2D environments.
A bioink that resembles life should include the following traits: High Print Resolution, shear-thinning, strong mechanical strength, superior cytocompatibility, allow for cellular remodeling, and is biomimetic. Lifeink® 200 fulfills those requirements.
Advanced BioMatrix offers Lifeink® 200, a bioink that is a 35 mg/ml type I collagen. Lifeink® 200 is pH neutral collagen with physiological salt concentration. The collagen starting material is purified using a controlled manufacturing process.
Read the groundbreaking publication using Lifeink® 200 for bioprinting heart components here.
Lifeink® 200 bioink has the following characteristics as shown below:
| Parameter, Testing, and Method | Lifeink® 200 #5278 |
| Sterilization Method | Filtration, Aseptic Processing |
| Sterility - USP modified | No growth |
| Form | Opaque Gel/Paste |
| Package Size | 5 mL |
| Storage Temperature | 2-8°C |
| Print Temperature | 2-8°C |
| Shelf Life | Minimum of 6 months from date of receipt |
| Endotoxin - LAL | < 10.0 EU/mL |
| pH | 6.9-7.6 |
|
Osmolality (mOsmo H2O/kg) |
290-370 |
|
Source Material |
Bovine Collagen |
|
Electrophoretic Pattern - Coomassie Blue |
Characteristic |
|
Collagen Concentration - Biuret |
30-45 mg/mL |
|
Collagen Purity - Silver Staining |
>99% |
|
Continuous Flow Extrusion |
Pass |
Directions for Use
Download the full PDF version or continue reading below:
Note: Employ aseptic practices to maintain the sterility of the product throughout the preparation and handling of the collagen and other solutions.
Note: It is recommended that the collagen and other working solutions be chilled during the preparation of the collagen.
Note: Vortexing of collagen is not recommended at any step.
Note: Ensure that NO bubbles enter the system. Bubbles in the system while mixing will turn your ink into a foam-like material.
Note: We recommend printing Lifeink® at 2-8°C into a gelatin slurry support (FRESH method) for best results.
Cell Addition to Bioink:
Note: Keep collagen chilled throughout these processes
- Add the concentrated cell suspension in cell culture media to a sterile syringe.
Note: We recommend a final bioink cell concentration of 5X10⁶/mL or greater.
Note: For best results, add 2 mL of cell suspension per 5 mL of collagen Bioink. Use a similar ratio for smaller volumes.
- Place sterile coupler on the end of the syringe with the cell suspension.
- Slowly push plunger in until media forms a slight external meniscus above the end of the coupler on the syringe.
- Remove cap from the syringe with collagen and slowly push plunger in until collagen forms a slight external meniscus above the end of the syringe.
- Couple the syringe with cells to the syringe with collagen. (Ensure that there are no air bubbles in the system. The “external meniscus” on both syringes helps ensure that there are no air bubbles introduced).
- Slowly push plungers back and forth ~40 times to ensure thorough mixing. End with all of the material in the syringe to be used for printing.
- The cell-laden bioink is now ready for positive displacement printers. Allow 5-10 minutes for the syringe to equilibrate back to 2-8°C before printing for best results.
Note: For pneumatic printers, transfer the collagen into an appropriate syringe using the coupler. The new syringe should have the seal inserted, but the plunger removed. Centrifuge the syringe at 2000 RPM for 1 minute after transferring the collagen to remove any air bubbles. Do not do the centrifuge step if there are cells already mixed in.
General Printing Notes:
- To use a smaller volume of collagen, simply transfer the desired amount of collagen to another syringe, using the provided sterile coupler. To remove the air from the new syringe, you can do either of the following:
- Centrifuge the syringe (capped) with the cap pointing up to cause the air to accumulate at the cap. Evacuate the air.
- Centrifuge the syringe (capped) with the cap pointing down, and then use a hemostat to squeeze the syringe while pushing the plunger to allow the air to escape.
Removing air with a hemostat video
- Complete your print within 1 hour of cell addition to syringe/bioink for best cell viability results.
- When printing with FRESH gelatin slurry, allow the final printed structure to incubate at 37°C for 30 to 60 minutes and then replace the gelatin with media.
- Avoid bubbles.
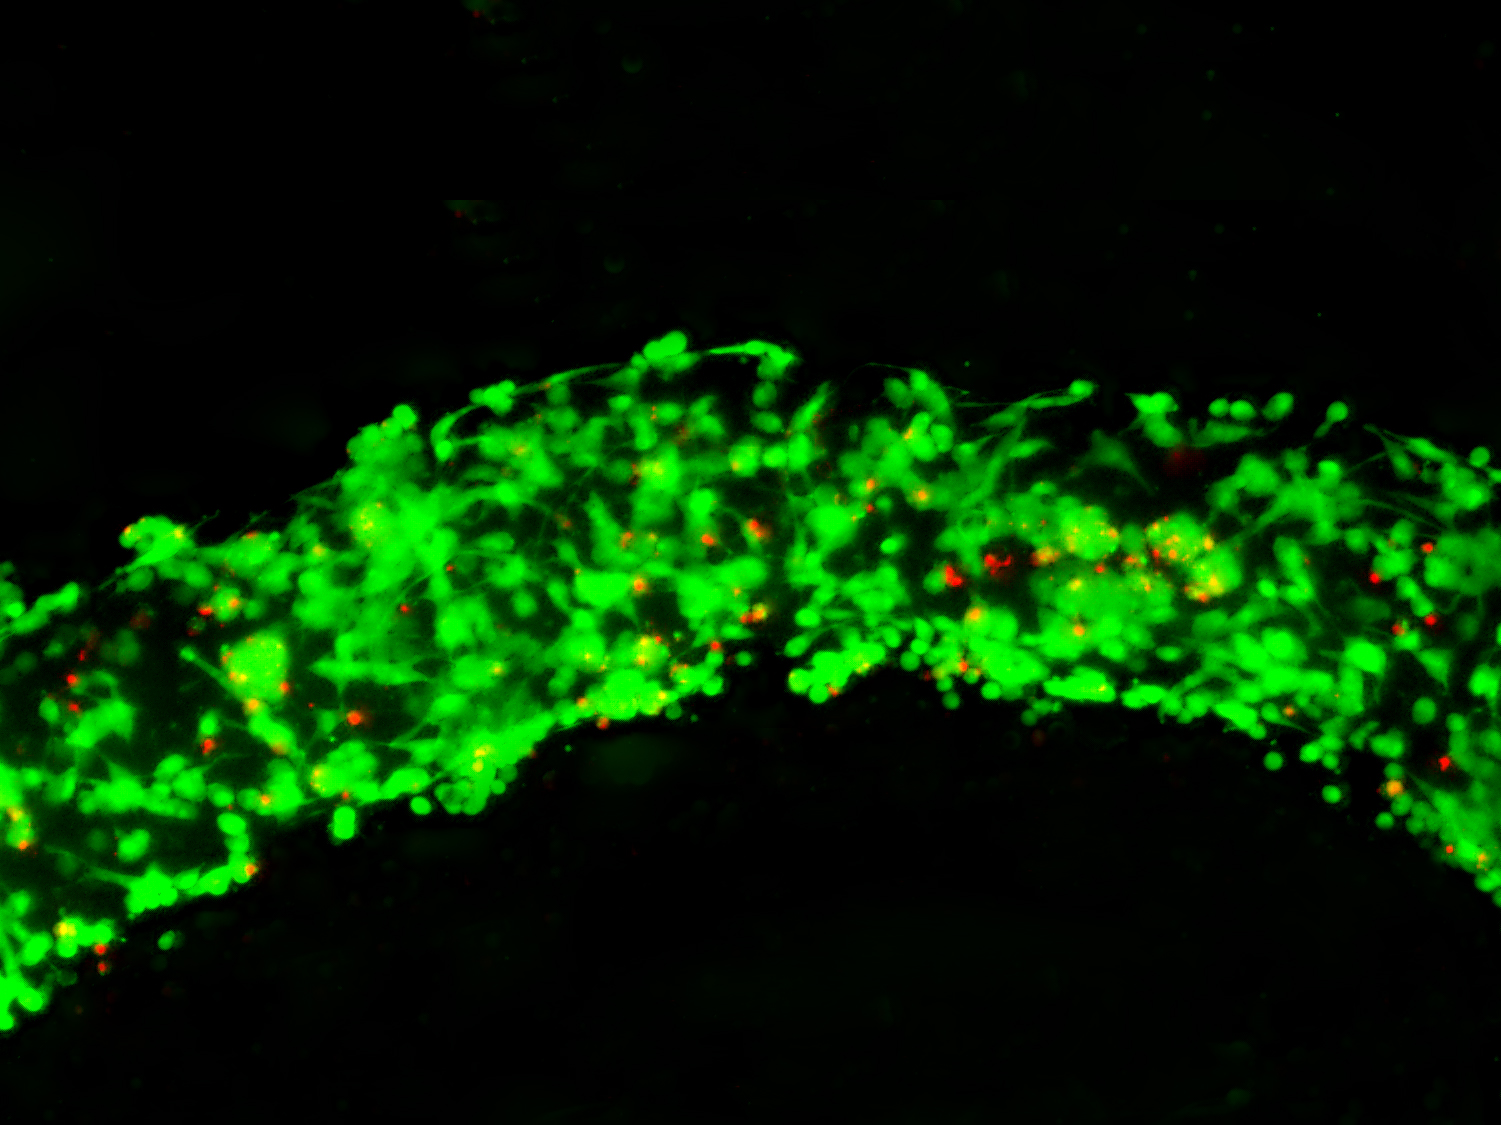
Product Cell Assay
Fibroblasts Day 2
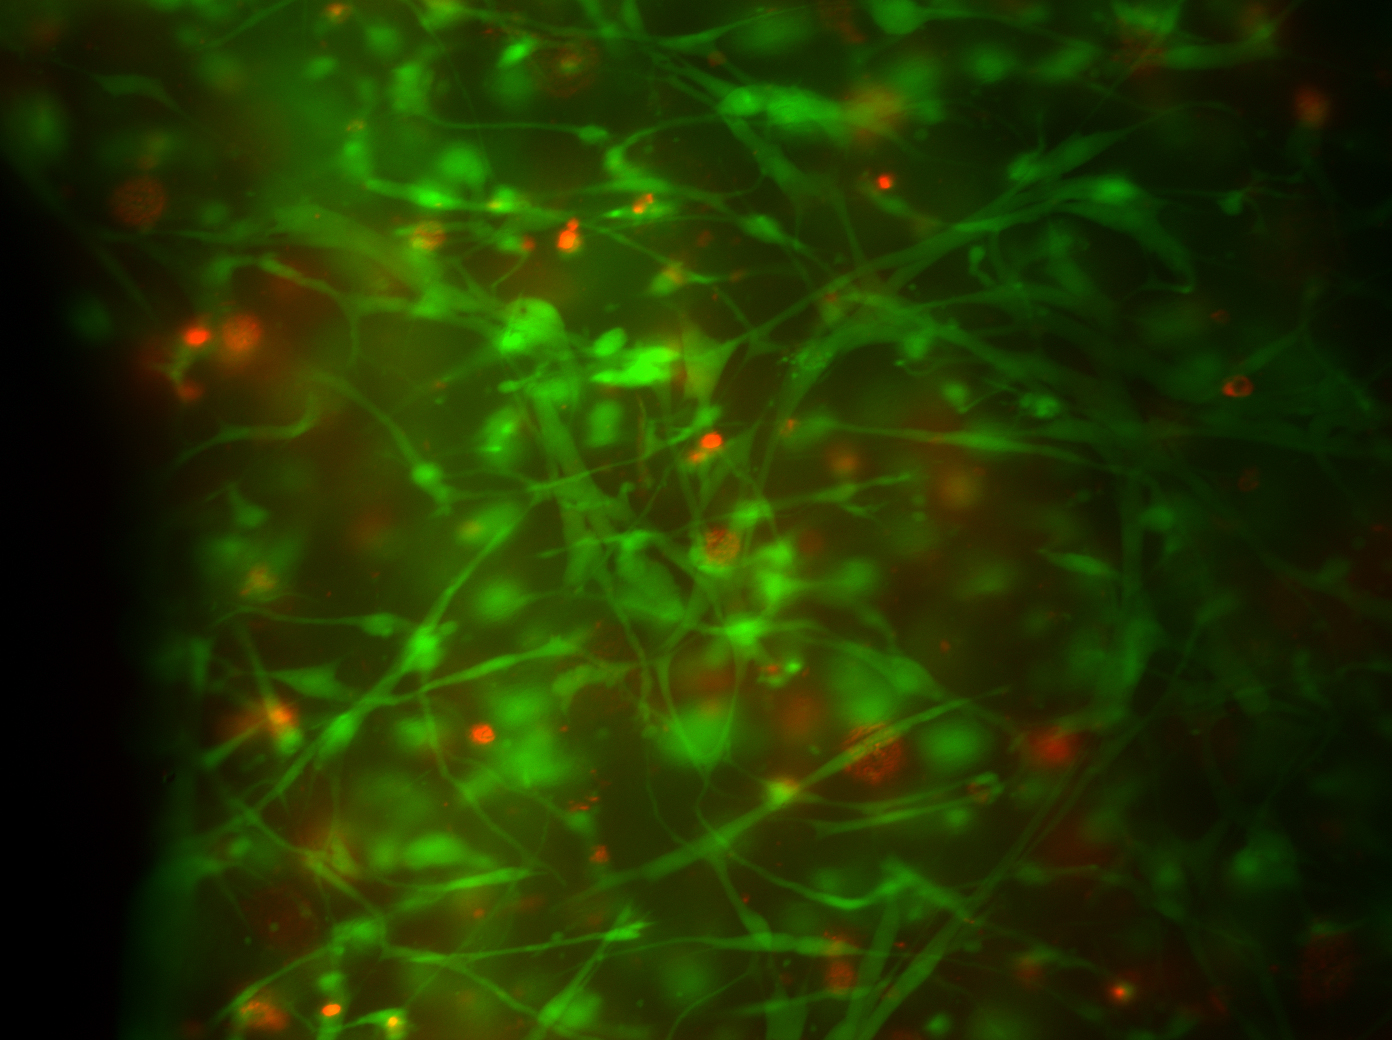
Adipose Derived Stem Cells Day 1
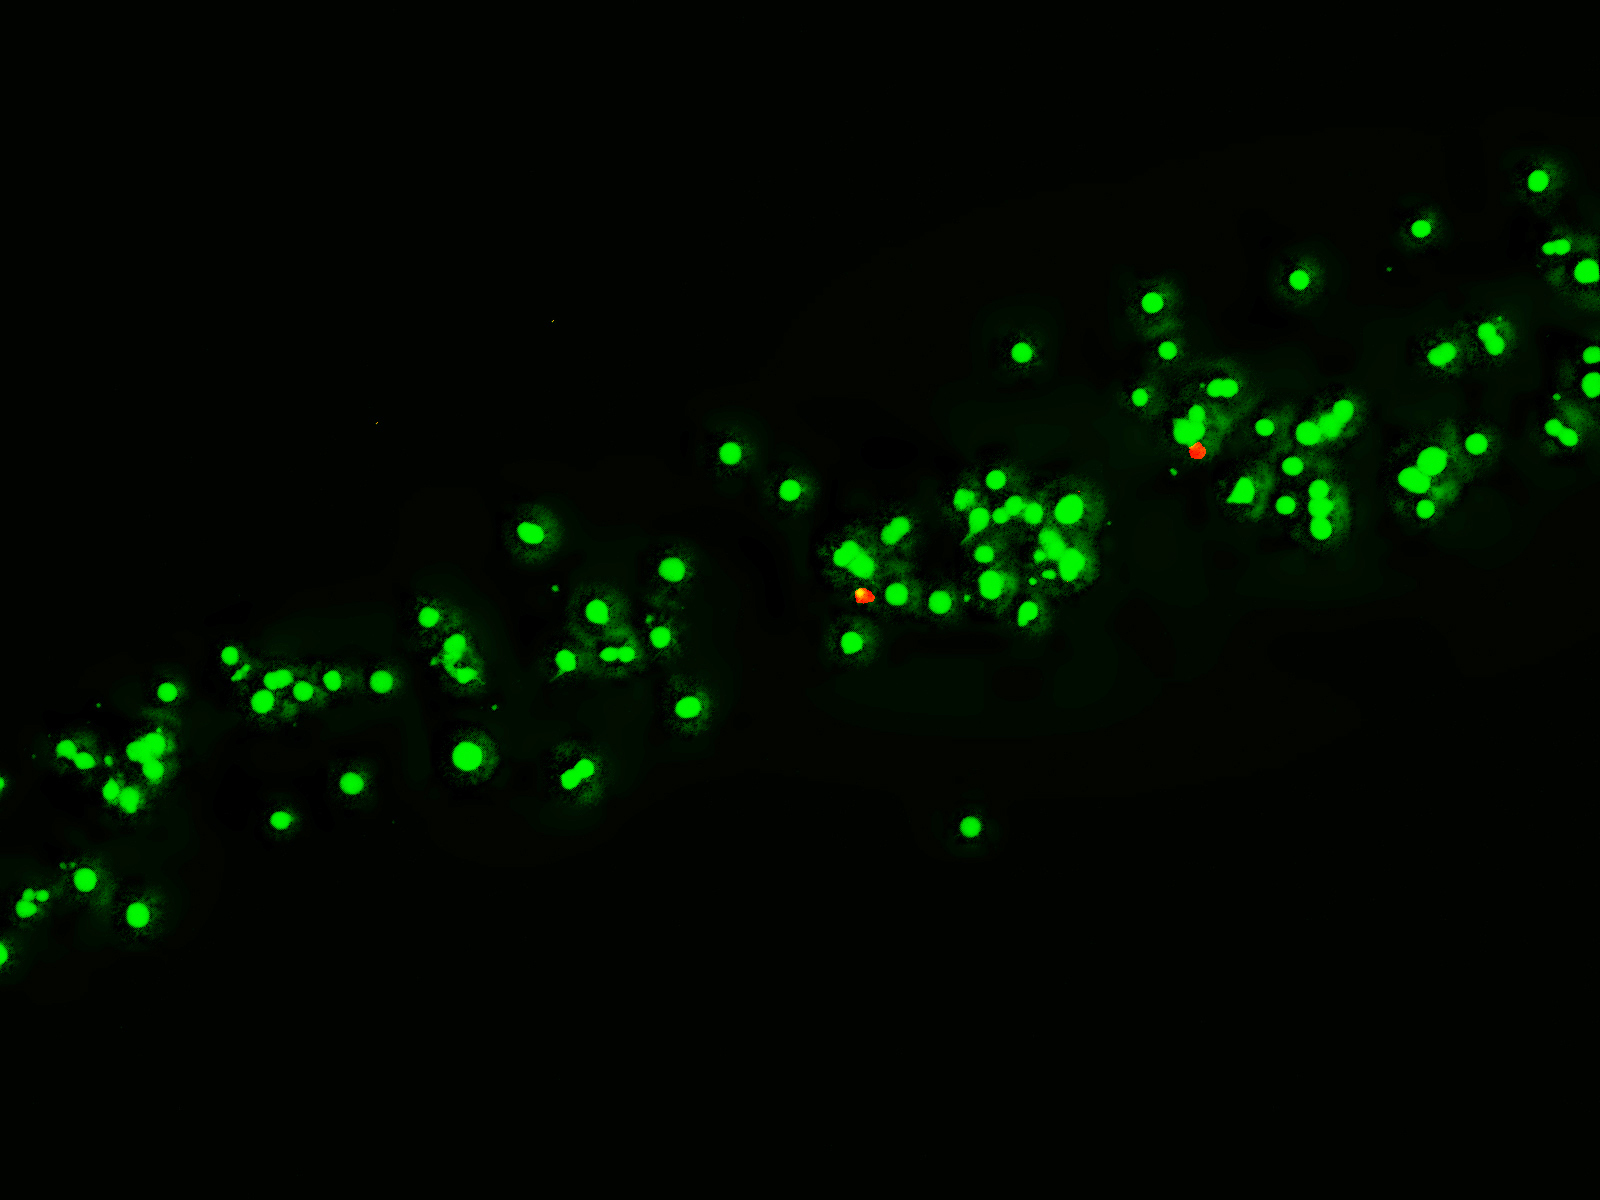
Adipose Derived Stem Cells Day 6
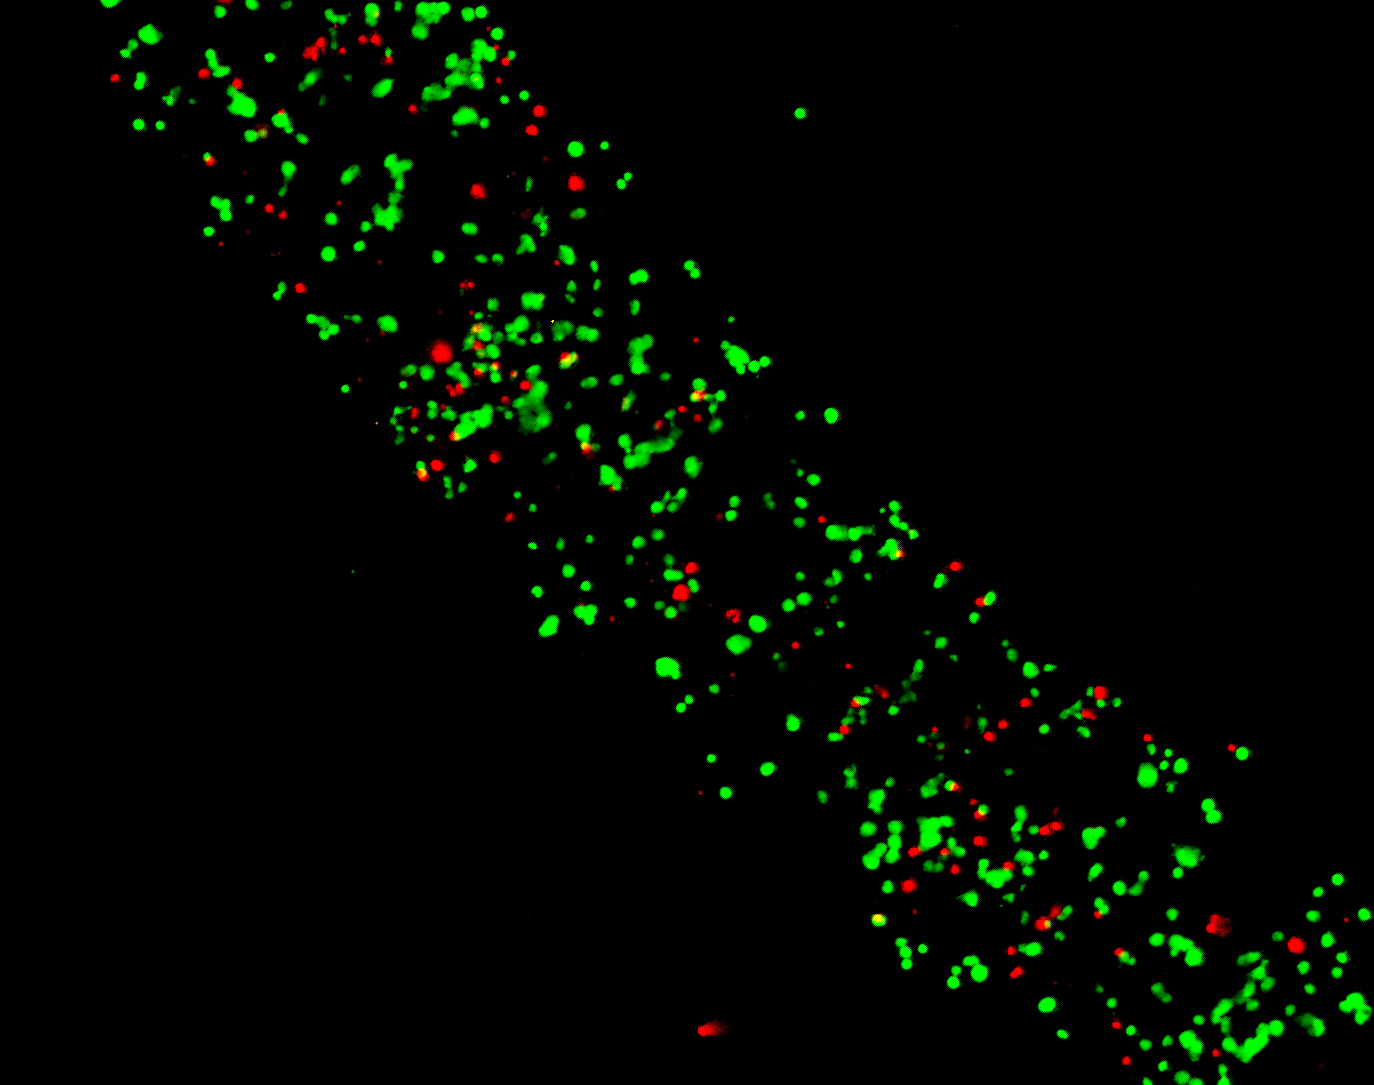
Fibroblasts day 1
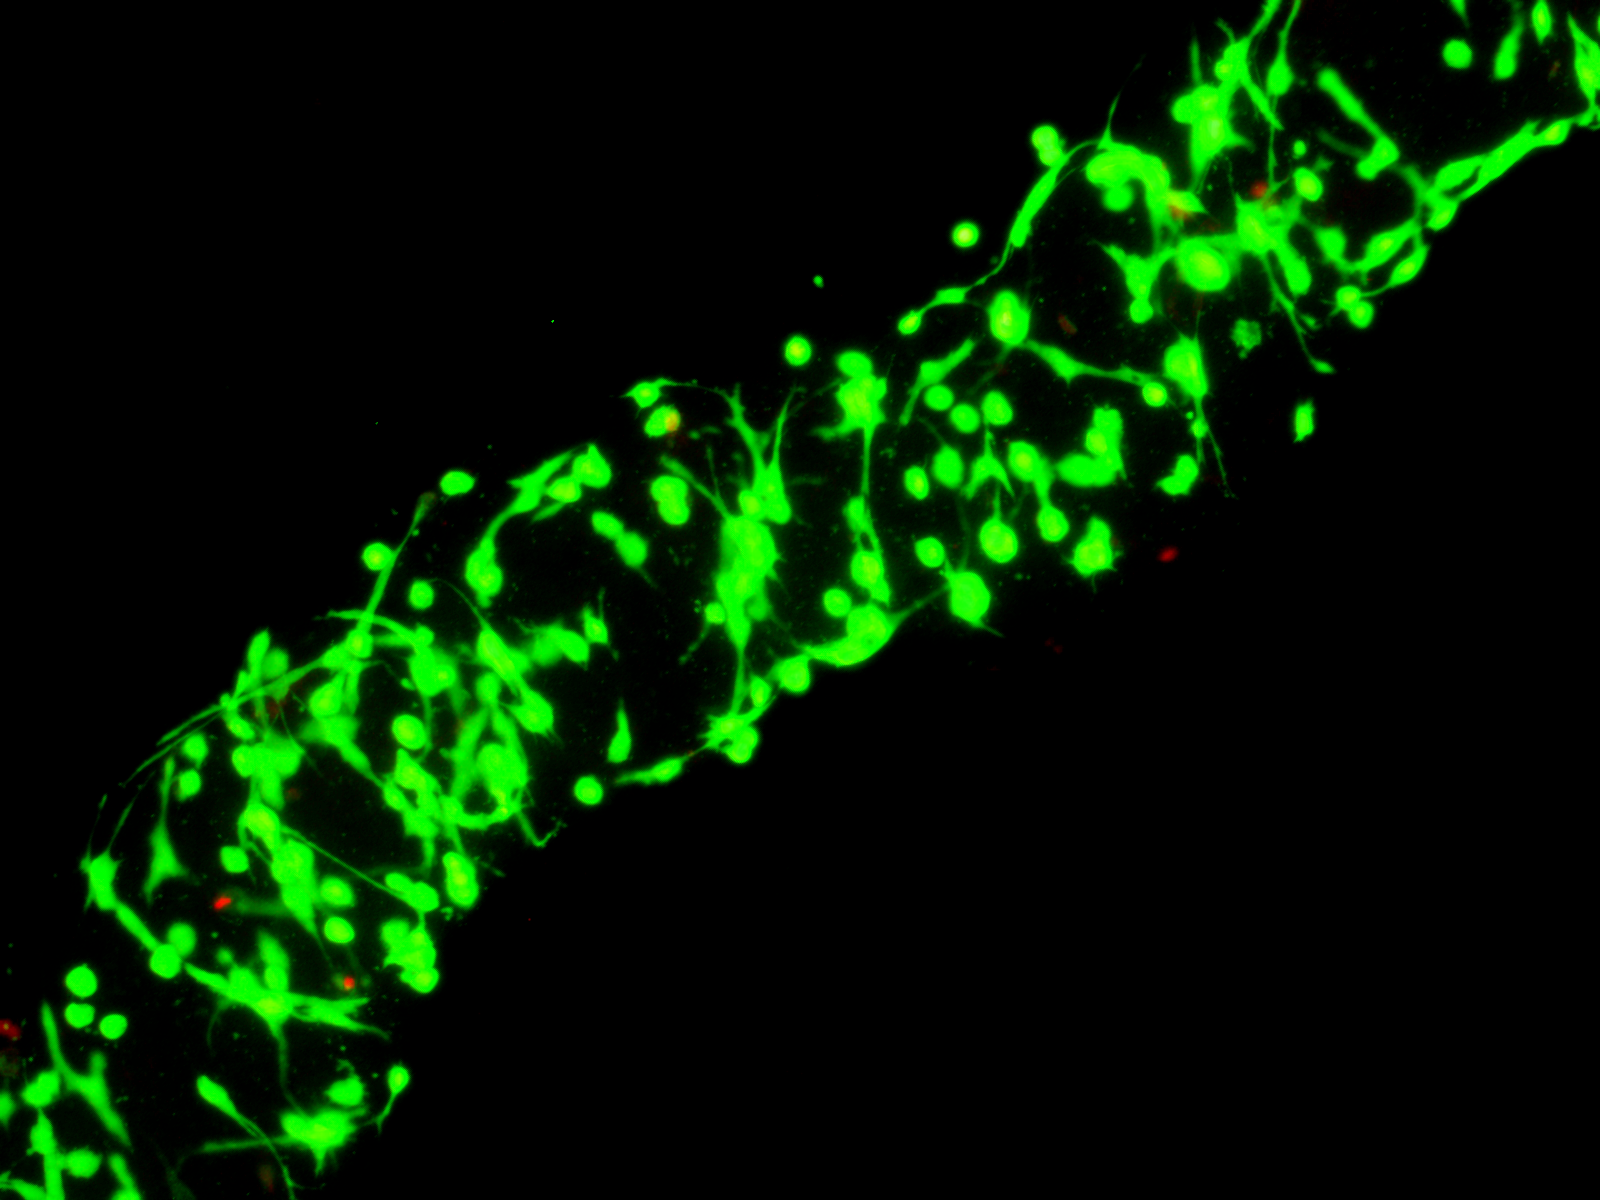
Fibroblasts day 5
Product Applications
Read our Bioprinting eBrochure Here
Bioprinted collagen constructs can be secondarily crosslinked using photocrosslinking and the ruthenium/sodium persulfate system. Read the recent publication outlining this process here.
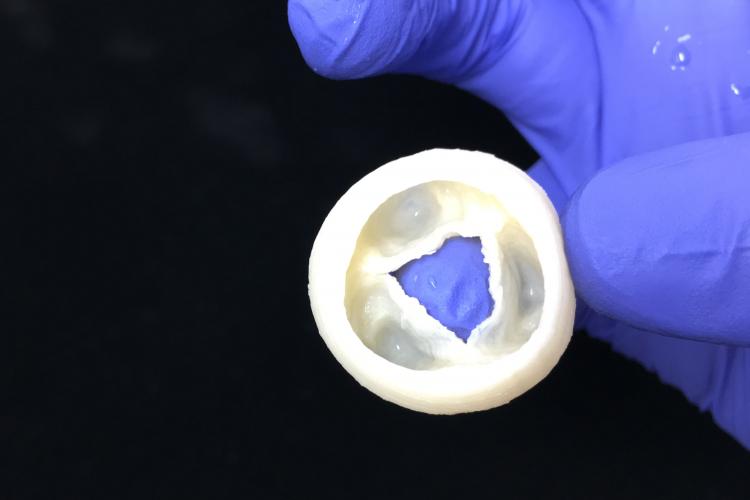
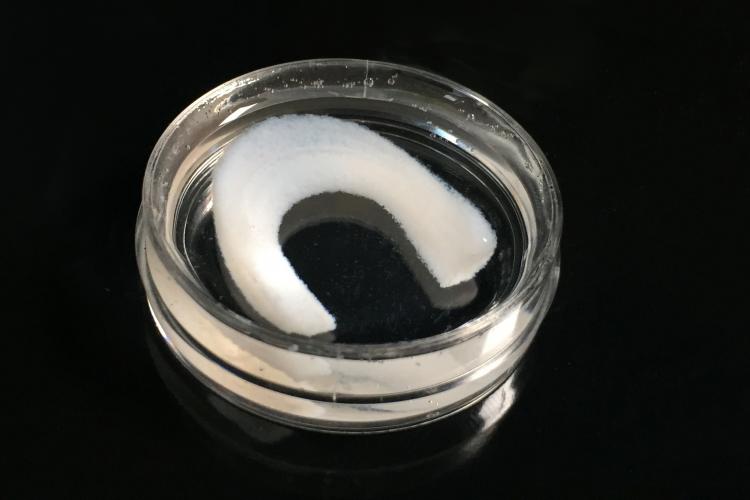
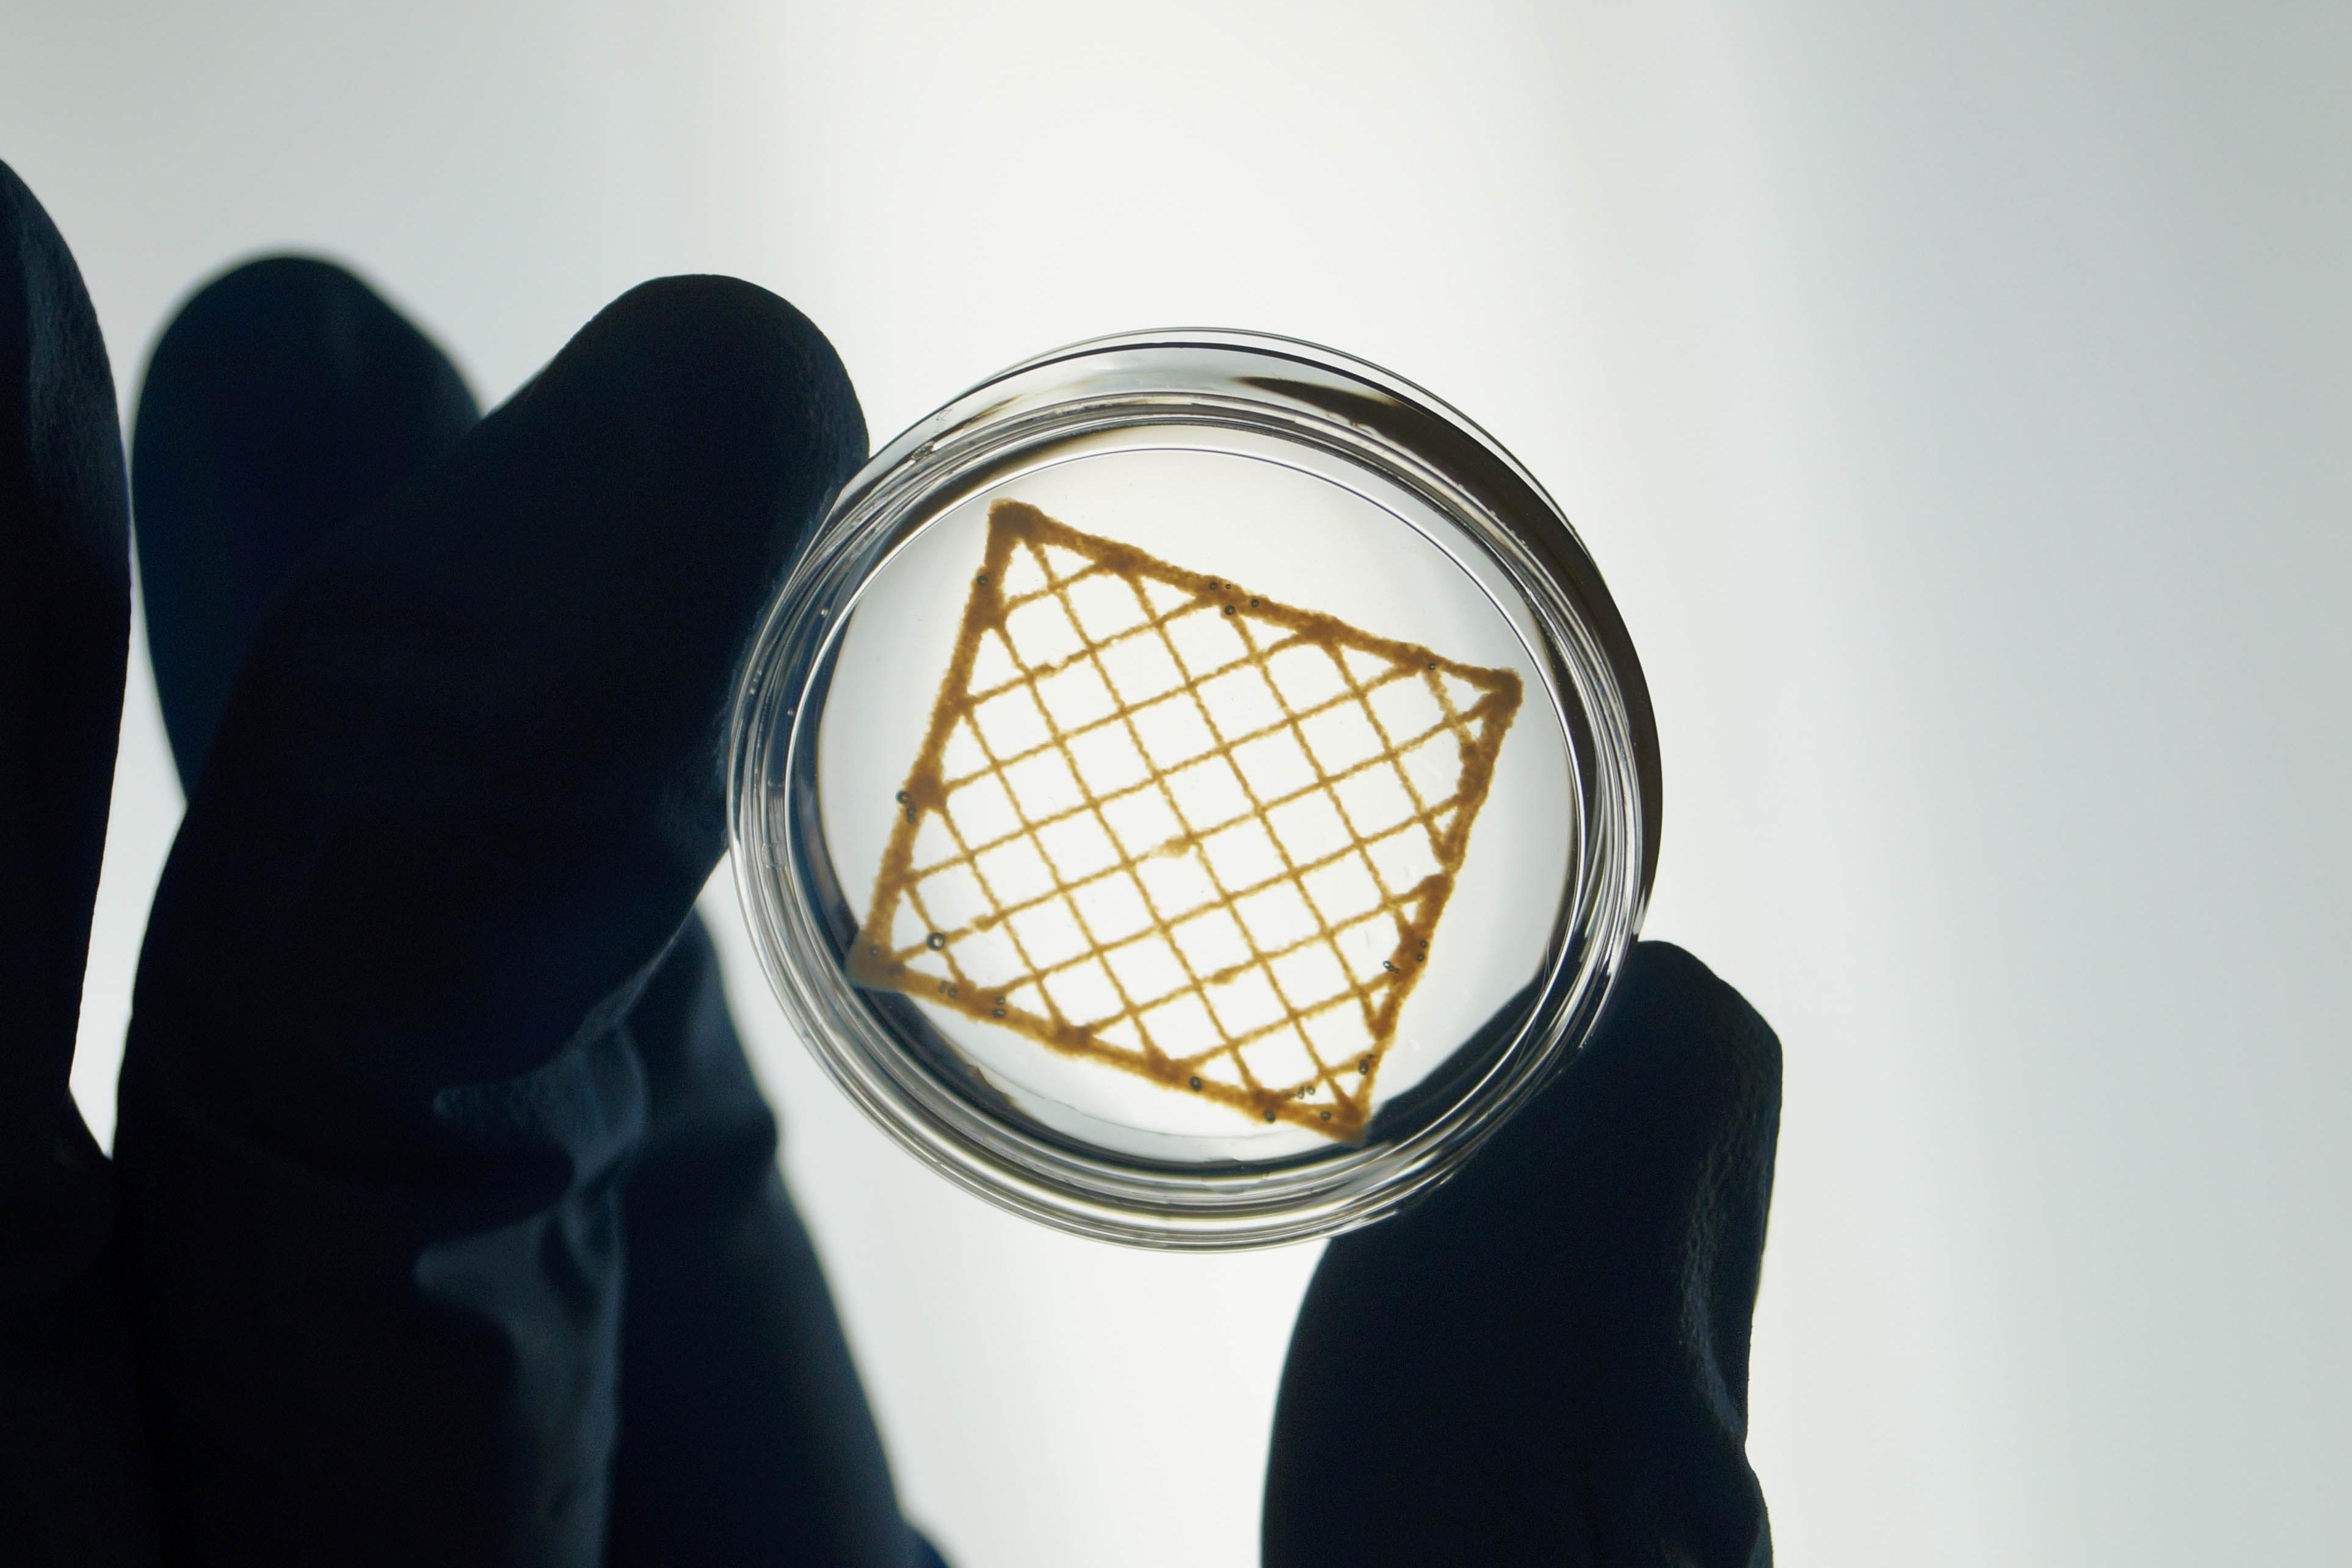
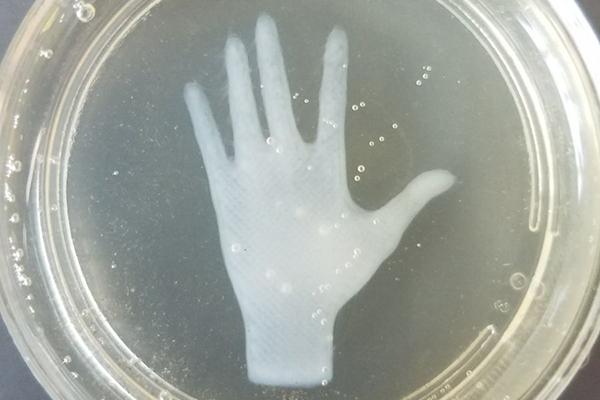
Product Bioprints
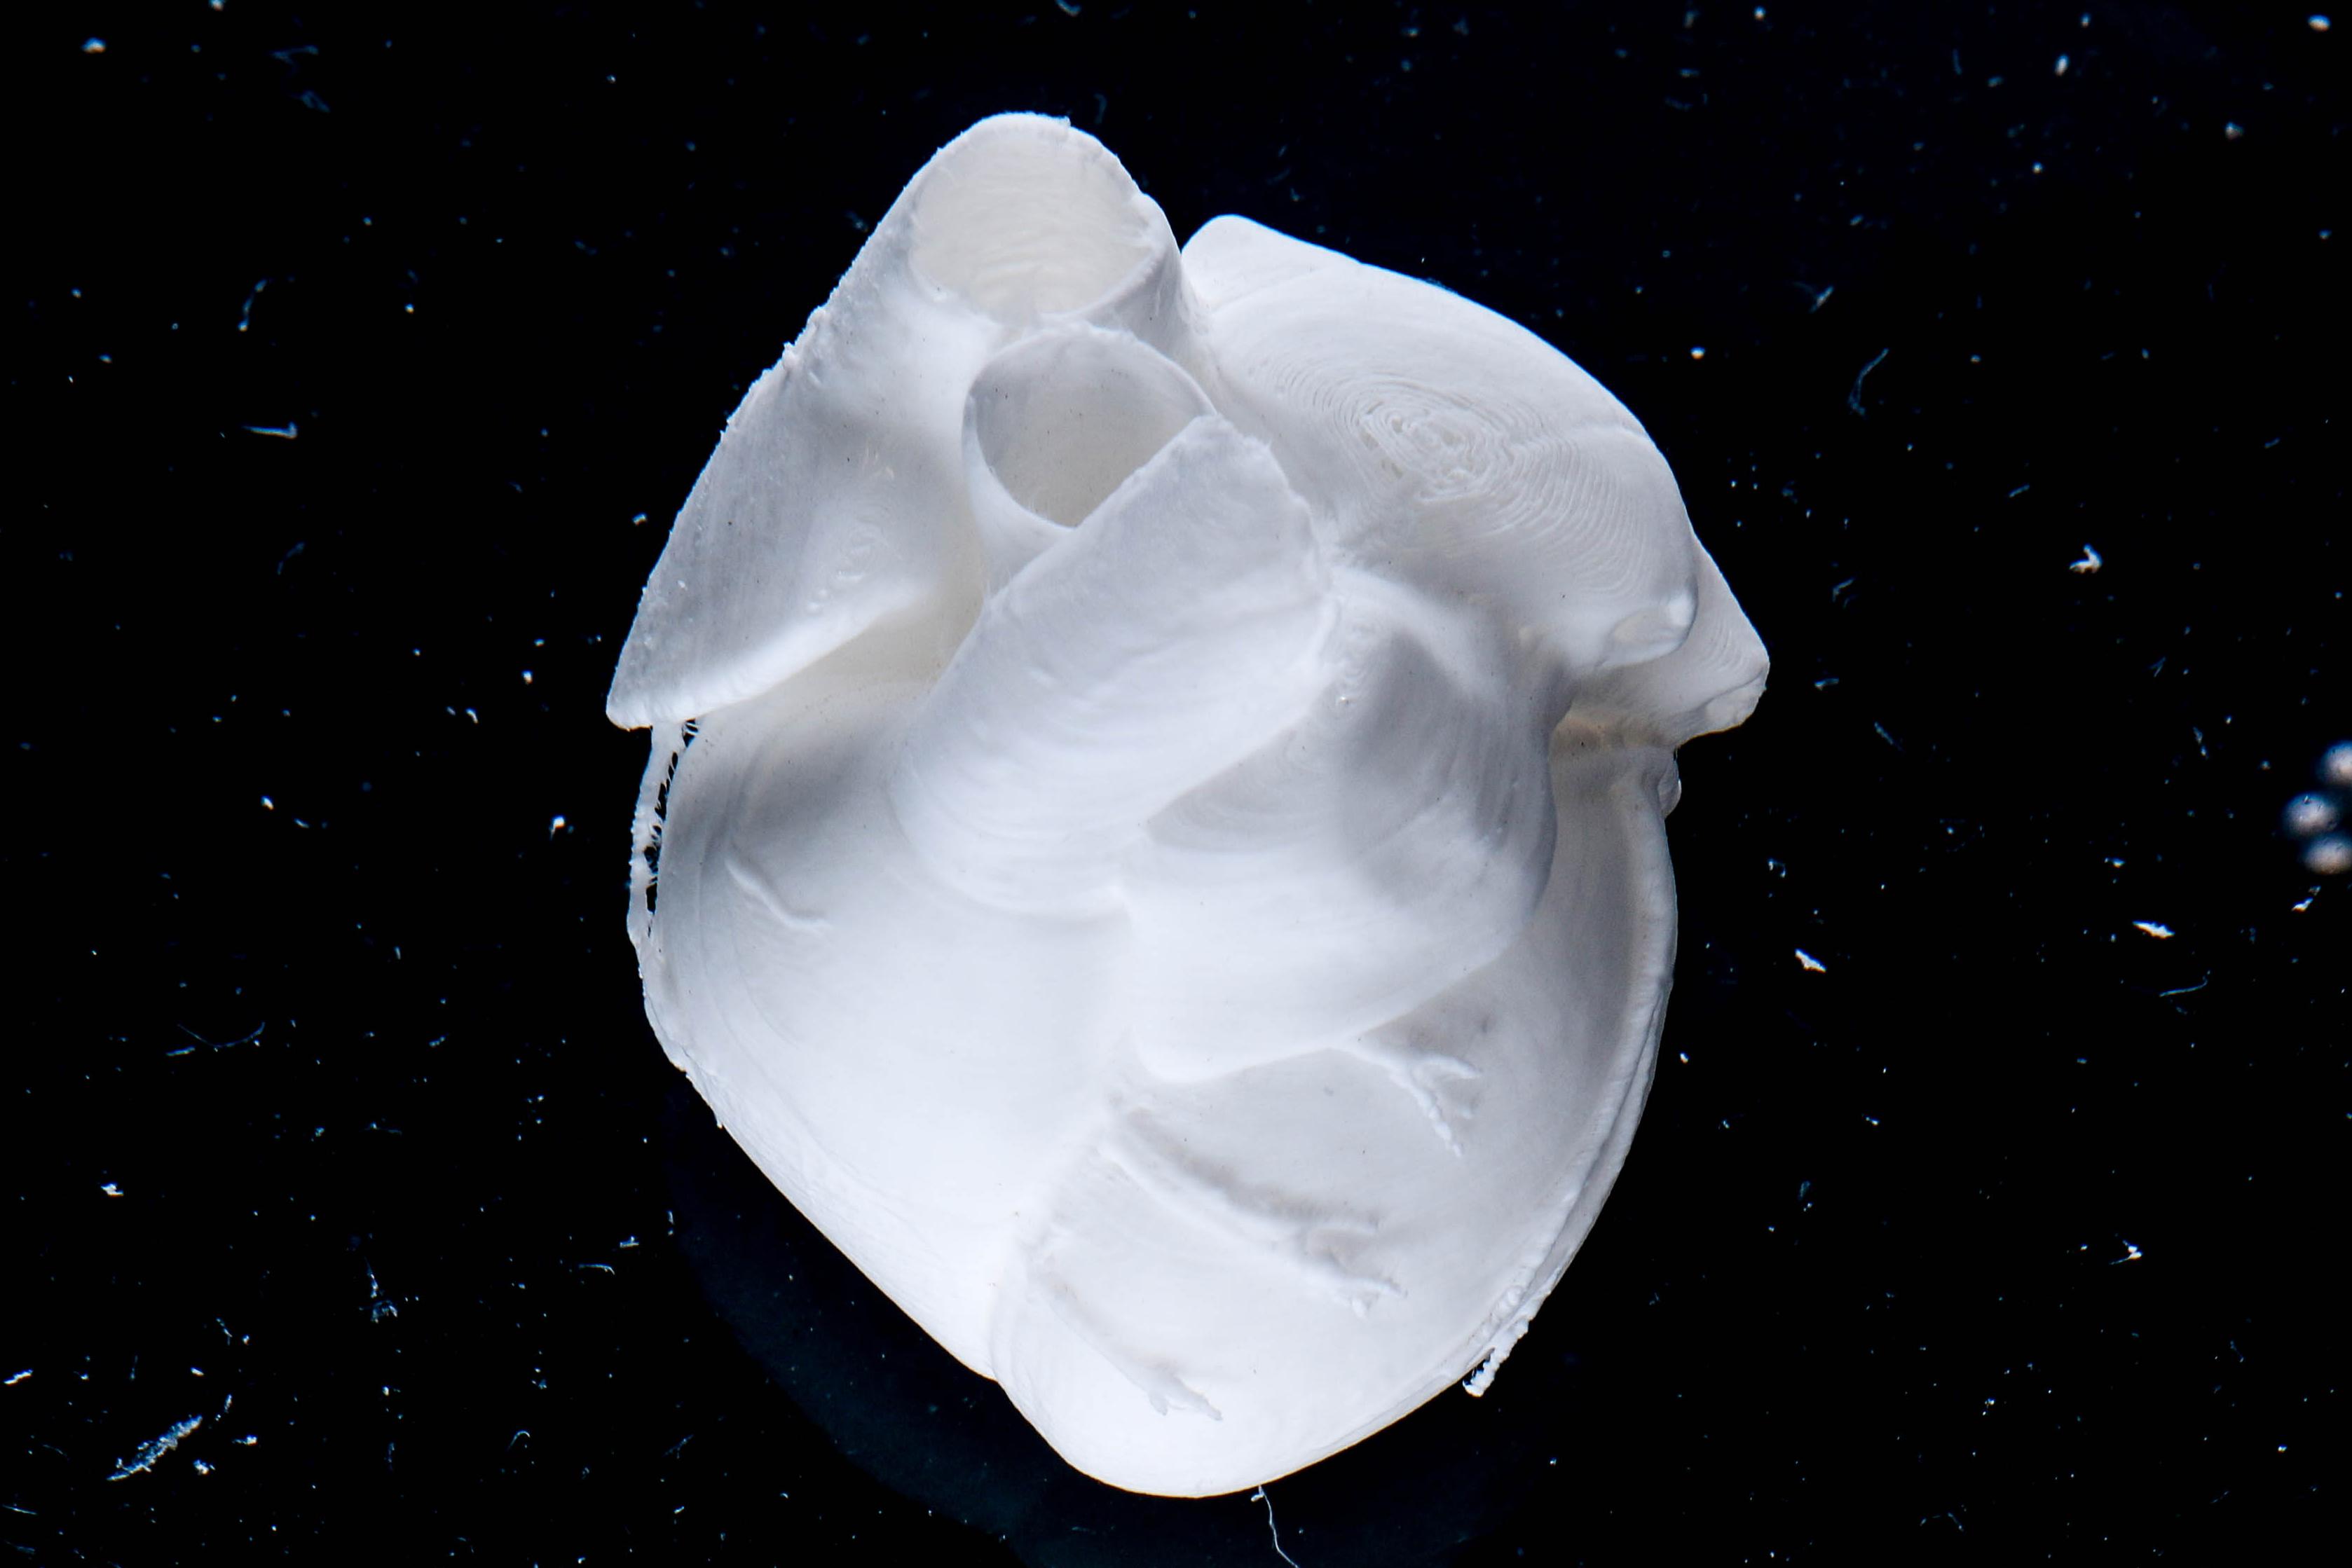
Full Scale Human Neonatal Heart
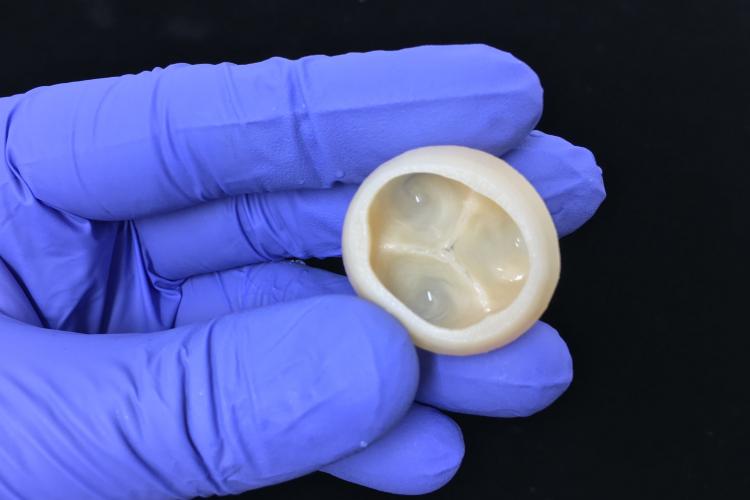
Heart Valve - Closed
Heart Valve - Open
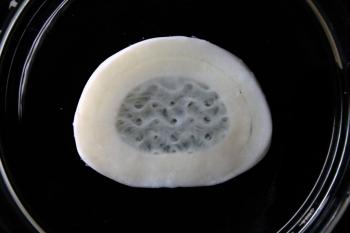
Meniscus
Simple Scaffold
Just a hand...
(Can you see the single layer thin fingernails?)
Product References
References for Lifeink® collagen bioinks:
Lan, X. et al. In vitro maturation and in vivo stability of bioprinted human nasal cartilage. Journal of Tissue Engineering 13, 204173142210863 (2022).
Stocco, T. D., Moreira Silva, M. C., Corat, M. A., Gonçalves Lima, G. & Lobo, A. O. Towards bioinspired meniscus-regenerative scaffolds: Engineering A novel 3D bioprinted patient-specific construct reinforced by biomimetically aligned nanofibers. International Journal of Nanomedicine Volume 17, 1111–1124 (2022).
Lee, A. et al. 3D bioprinting of collagen to rebuild components of the human heart. Science 365, 482–487 (2019).
Maxson, Eva L., et al. "In vivo remodeling of a 3D-Bioprinted tissue engineered heart valve scaffold." Bioprinting (2019): e00059.
Filardo, G. et al.Patient-specific meniscus prototype based on 3D bioprinting of human cell-laden scaffold. Bone & Joint Research 8,101–106 (2019).
Schmitt, T. Analysis and Classification of 3-D Printed Collagen-Bioglass Matrices for Cellular Growth Utilizing Artificial Neural Networks. University Thesis (2018).
Balakhovsky, Y. M., Ostrovskiy, A. Y. & Khesuani, Y. D. Emerging Business Models Toward Commercialization of Bioprinting Technology. 3D Printing and Biofabrication1–22 (2017). doi:10.1007/978-3-319-40498-1_25-1
Fox, S. et al. A simplified fabrication technique for cellularized high-collagen dermal equivalents. Biomedical Materials14,041001 (2019).
Lin, H.-H., Chao, P.-H. G., Tai, W.-C. & Chang, P.-C. 3D-printed collagen-based waveform microfibrous scaffold for periodontal ligament reconstruction. International Journal of Molecular Sciences 22, 7725 (2021).
Engberg, A., Stelzl, C., Eriksson, O., O’Callaghan, P. & Kreuger, J. An open source extrusion bioprinter based on the E3D motion system and Tool Changer to enable fresh and multimaterial bioprinting. Scientific Reports 11, (2021).
Tashman, J., et al. "In Situ Volumetric Imaging and Analysis of FRESH 3D Bioprinted Constructs Using Optical Coherence Tomography." BioRxiv. (2021)
Product Certificate of Analysis
No result for .
Product Videos
Product Disclaimer
This product is for R&D use only and is not intended for human or other uses. Please consult the Material Safety Data Sheet for information regarding hazards and safe handling practices.
